Content
Impregnated decorative paper—used for furniture surfaces, flooring, and cabinetry—requires uniform drying to maintain its texture, color consistency, and adhesion properties. Unlike regular paper, it’s saturated with resin (e.g., melamine formaldehyde resin) that needs even heat distribution to cure without cracking or warping. Dryers for this paper rely on two core principles to ensure uniformity: consistent heat transfer and balanced airflow circulation.
First, consistent heat transfer prevents localized overheating or under-drying. Resin in impregnated paper has a narrow curing temperature range (typically 120–180°C); even a 5°C difference between two areas can lead to uneven resin curing—one section may be brittle (over-dried) while another remains sticky (under-dried). Dryers achieve this by using distributed heating elements (e.g., infrared lamps, hot air ducts) spaced evenly along the paper’s travel path, ensuring every inch of the paper receives the same heat intensity.
Second, balanced airflow circulation removes moisture uniformly. As the paper dries, resin releases volatile organic compounds (VOCs) and moisture; stagnant air pockets would trap these byproducts, causing the paper to dry unevenly. Dryers use fans, air deflectors, and exhaust systems to create a “cross-flow” or “counter-flow” airflow pattern—air moves consistently across the paper’s surface (top and bottom) and is exhausted at a steady rate, ensuring moisture is pulled from all areas equally. Without this balance, edges of the paper (which are more exposed to air) might dry faster than the center, leading to curling or dimensional distortion.
Together, these principles address the unique challenge of drying resin-impregnated paper: it’s not just about removing moisture, but ensuring the resin cures uniformly to preserve the paper’s decorative and functional qualities.
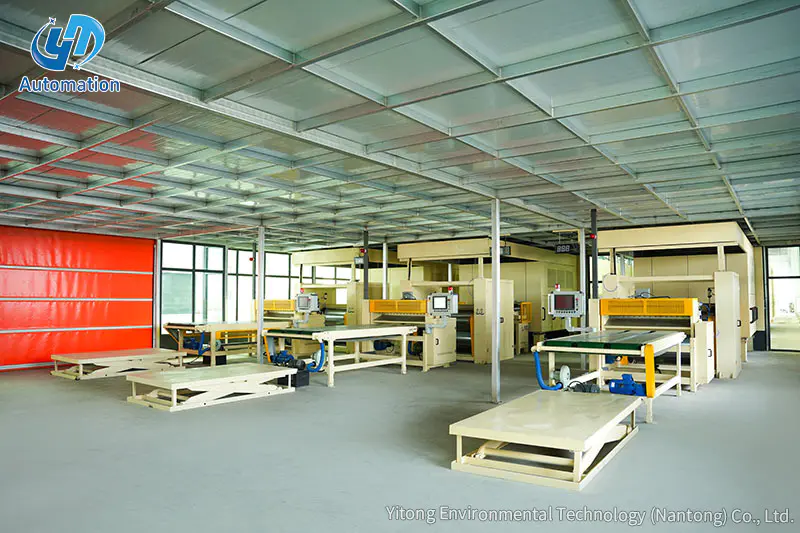
The physical design of the impregnated decorative paper dryer is engineered to reinforce uniform heat and airflow. Key structural features work in tandem to eliminate drying inconsistencies, and understanding them helps operators optimize performance:
Most industrial dryers use 3–5 sequential heating zones (each 1–3 meters long) instead of a single large chamber. Each zone has independent temperature and airflow controls, allowing operators to adjust conditions based on the paper’s drying stage. For example:
Zoned design prevents the “end effect” (edges drying faster than the center) because each zone’s heat and airflow can be fine-tuned. For instance, if the paper’s edges are drying too quickly in the curing zone, operators can slightly lower the zone’s temperature or increase airflow to the center, balancing the drying rate.
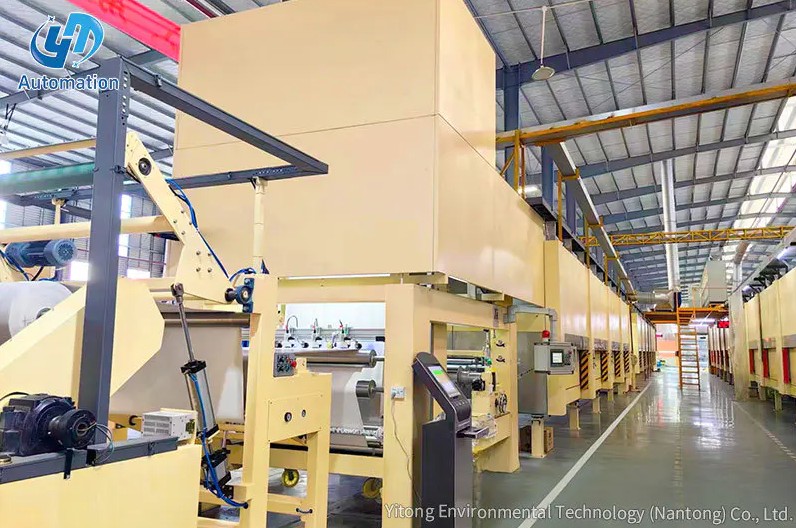
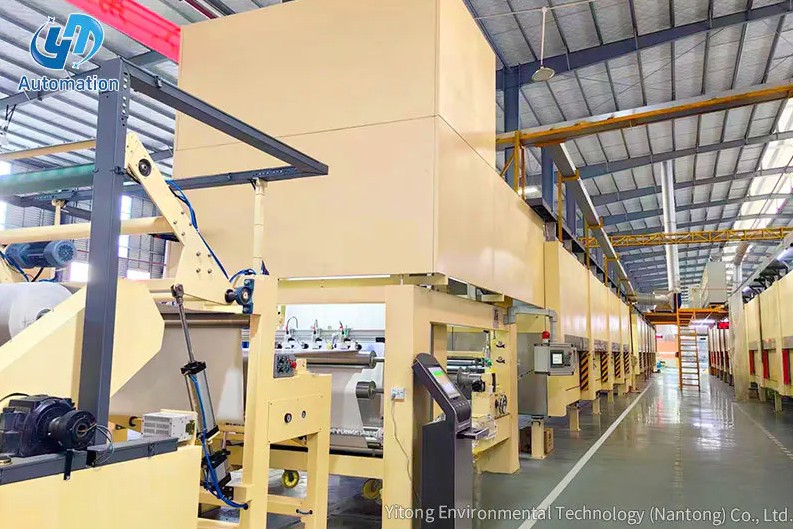
Impregnated paper absorbs resin on both sides, so drying only one side would cause uneven resin curing and warping. Dryers use double-sided heating—heating elements (e.g., infrared panels) are installed above and below the paper’s travel path, with equal distance from the paper surface (usually 10–15 cm). This ensures both sides receive the same heat intensity: the top side doesn’t cure faster than the bottom, and the paper remains flat.
Some advanced dryers add “heat reflectors” (aluminum plates) behind the heating elements to redirect stray heat back toward the paper, reducing heat loss and maintaining consistent temperatures across the entire width of the paper (even for wide rolls, 1.2–2 meters).
The conveyor belt (or roller system) that moves the paper through the dryer plays a key role in uniformity. Two design features are critical:
To avoid stagnant air pockets, dryers are fitted with adjustable air deflectors (plastic or metal plates) that direct airflow across the paper’s surface. Deflectors are spaced every 20–30 cm along the dryer’s length and can be tilted to adjust airflow direction—for example, tilting them toward the center of the paper to increase air circulation in areas that tend to dry slower.
Exhaust ports are evenly distributed along the dryer’s top and bottom, connected to a central fan system. The exhaust rate is matched to the moisture release rate (measured by humidity sensors inside the dryer)—if moisture builds up in one zone, the exhaust fan speeds up to pull it out, preventing uneven drying.
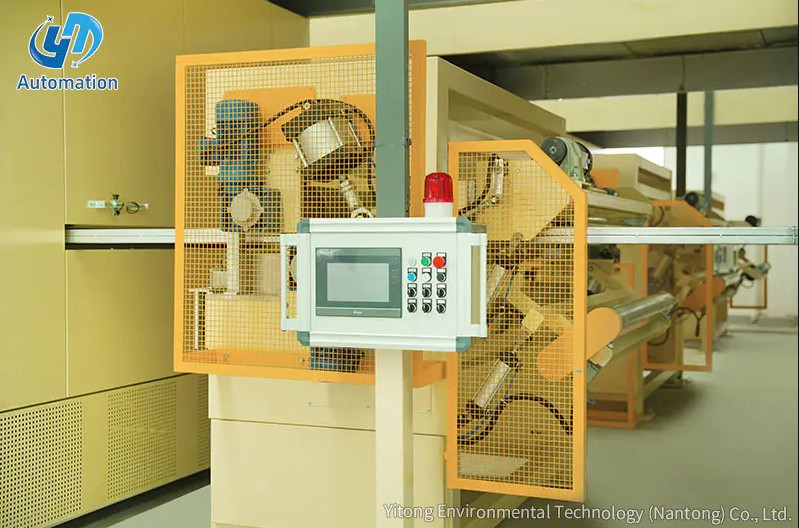
Even with well-designed heating zones and airflow, temperature fluctuations (e.g., from changes in paper thickness or resin viscosity) can disrupt uniformity. Dryers rely on temperature sensors and closed-loop control systems to monitor and adjust conditions in real time, ensuring consistent drying:
Dryers use two types of sensors to track temperature:
For wide paper rolls (1.5 meters or more), sensors are placed at three points across the width (left, center, right) to catch edge-to-center temperature differences—these are the most common cause of uneven drying.
The sensors feed data to a programmable logic controller (PLC)—the dryer’s “brain”—which uses a closed-loop system to adjust heating and airflow:
This closed-loop system responds in milliseconds—fast enough to correct temperature fluctuations before they affect the paper’s drying quality. Without it, manual adjustments (e.g., an operator checking temperatures every 10 minutes) would be too slow to prevent uneven curing.
While temperature is critical, humidity levels in the dryer also impact uniformity. High humidity in a zone traps moisture, slowing drying; low humidity accelerates it. Dryers add humidity sensors in each zone to measure the moisture content of the exhaust air. The PLC uses this data to adjust the exhaust fan speed:
Humidity sensors are especially useful when switching between different types of impregnated paper (e.g., from a thin paper with low resin content to a thick paper with high resin content)—the PLC can automatically adjust exhaust rates to match the new moisture release rate.
Even with advanced dryer systems, operator expertise plays a key role in maintaining uniform drying. These practical tips address common challenges and help fine-tune temperature control for different paper and resin types:
Never feed impregnated paper into a cold dryer—this causes the first section of paper to absorb heat slowly, leading to under-drying. Instead:
Thicker impregnated paper (e.g., 120 g/m²) and paper with high resin content (more than 40% resin by weight) require higher temperatures and slower belt speeds to ensure the resin cures fully. Conversely, thin paper (80 g/m²) or low-resin paper needs lower temperatures to avoid over-drying. Use this guide as a starting point:
Always consult the resin manufacturer’s recommendations—different resins (e.g., melamine vs. urea-formaldehyde) have specific curing temperature ranges. For example, urea-formaldehyde resin cures at 140–150°C, while melamine resin requires 160–180°C.
If the paper’s edges are drying faster than the center (a common issue with wide rolls), use the dryer’s edge heating controls (if available):
Keep a log of temperature readings (air and surface) for each zone, along with belt speed and humidity levels, for every production run. This helps:
Dust, resin buildup, and paper fibers can accumulate on heating elements and sensors over time, reducing heat transfer and causing inaccurate temperature readings:
Even experienced operators can make mistakes that disrupt temperature control and cause uneven drying. Here are the most frequent errors and how to prevent them:
A common mistake is using a “one-temperature-fits-all” approach—setting the preheating, curing, and cooling zones to the same temperature (e.g., 160°C). This causes:
Fix: Follow the zoned temperature guidelines for the paper and resin type. Use the resin manufacturer’s datasheet to determine the optimal temperature for each stage (preheating, curing, cooling) and program the PLC accordingly.
Changing the belt speed without adjusting temperature is a recipe for uneven drying. For example:
Fix: Use a “speed-temperature ratio” chart. For every 0.5 m/min increase in belt speed, increase the curing zone temperature by 5–10°C (to compensate for shorter dwell time). For every 0.5 m/min decrease, lower the temperature by 5–10°C. Test the ratio with a waste strip before applying it to full production.
Temperature sensors drift over time (especially IR sensors), leading to inaccurate readings. For example, a sensor that’s 5°C off may tell the PLC the paper is 155°C when it’s actually 160°C—causing the PLC to increase heat unnecessarily, leading to over-drying.
Fix: Calibrate sensors monthly (or as recommended by the dryer manufacturer):
When noticing uneven drying (e.g., sticky spots), operators often make large, rapid temperature adjustments (e.g., increasing the curing zone temperature by 20°C at once). This causes:
Fix: Make small, incremental adjustments (±3–5°C at a time) and wait 5–10 minutes (the time it takes for the paper to travel through the zone) to check the results. For example, if you see sticky spots, increase the curing zone temperature by 3°C, then run a test strip after 10 minutes to see if the spots disappear.
By combining an understanding of the dryer’s design principles, leveraging sensor technology, and following these practical tips, operators can ensure impregnated decorative paper dries uniformly—preserving its quality and meeting the strict standards of furniture and flooring manufacturers.
Contact Us
Recommended Products
Let’s Get In
Touch
Yitong Environmental Technology (Nantong) Co., Ltd is a manufacturer specializing in impregnation equipment.


Contact Us
Phone: 13073202297 / 13023568111
Email: [email protected] / [email protected]
Add:No.369, Nanhai Road, Tongzhou Bay, Jiangsu, China
 English
 中文简体
中文简体
 русский
 عربى
عربى