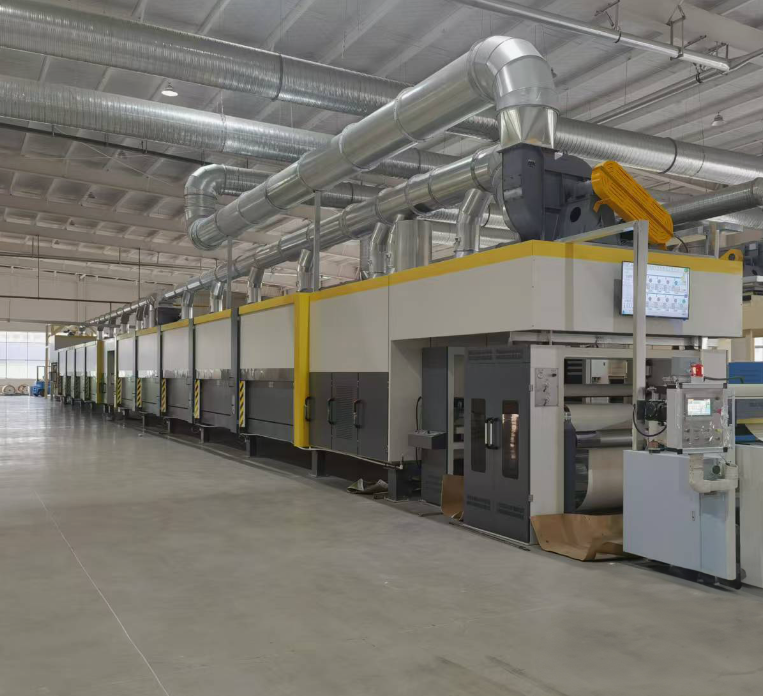
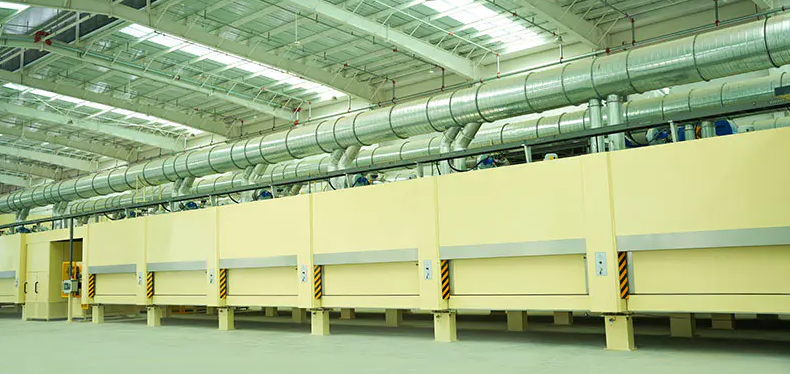
One-stage impregnation lines are widely used in coating, encapsulation, drying, and other processes, especially in the fields of electronic components, circuit boards, and metal surface treatment. They complete the coating process in a single step by immersing the workpiece in liquid coating material, thereby improving production efficiency and coating quality. However, during prolonged use, one-stage impregnation lines may encounter some common faults that affect production efficiency and product quality.
This article will introduce you to the common faults of one-stage impregnation lines and provide corresponding solutions to help users optimize the production process and extend the service life of the equipment.
1. Common Fault: Uneven Coating
Problem Description:
Uneven coating is one of the most common faults in one-stage impregnation lines. Uneven coating thickness or poor coating quality on the workpiece surface often affects the appearance and performance of the product, and may even lead to product failure during quality inspection.
Possible Causes:
High or low viscosity of the liquid coating material: Inappropriate coating viscosity may prevent the coating from adhering evenly to the workpiece surface, resulting in uneven coating.
Too short or too long immersion time: Too short immersion time may lead to insufficient coating adhesion, while too long a time may result in excessive coating thickness, causing dripping or unevenness.
Unstable immersion temperature: Too high or too low temperature of the coating material will affect its fluidity, leading to uneven coating.
Unstable liquid level in the immersion tank: If the liquid level of the coating material in the immersion tank is unstable, the immersion height of the workpiece will vary, also leading to uneven coating thickness.
Improper workpiece placement: Improper arrangement or uneven force on the workpieces may prevent some workpieces from being evenly immersed, resulting in uneven coating.
Solutions:
Adjust coating viscosity: Regularly check the viscosity of the coating material and adjust it as needed. A viscometer can be used to measure the viscosity of the coating to ensure it is suitable for the impregnation process.
Optimize immersion time: Adjust the immersion time according to different workpieces and coating types to ensure that the workpiece is fully immersed and obtains a uniform coating.
Maintain a stable immersion temperature: Ensure the temperature of the coating in the immersion tank remains stable within the optimal working range. This can be achieved through a heating system or temperature control device to maintain a constant temperature of the coating.
Adjust the liquid level: Regularly check the liquid level of the coating in the immersion tank to ensure a consistent level and prevent uneven coating due to liquid level fluctuations.
Properly place the workpieces: Ensure that the workpieces are properly placed in the immersion tank, avoiding overlapping or overcrowding, to ensure that each workpiece is evenly immersed.
2. Common Fault: Poor Coating Adhesion
Problem Description:
Poor coating adhesion refers to the weak bonding between the coating and the workpiece surface, leading to easy peeling or blistering. Poor adhesion reduces the durability of the coating, thus affecting the overall performance and service life of the product.
Possible Causes:
Unclean workpiece surface: If the workpiece surface contains impurities such as oil, dust, or oxides, the adhesion between the coating and the surface will be significantly reduced.
Poor quality coating in the immersion tank: The coating may contain impurities, or the coating may have aged or deteriorated, affecting its adhesion.
Improper workpiece surface treatment: The workpiece surface has not undergone proper pre-treatment, such as cleaning, degreasing, or sandblasting, resulting in a surface roughness unsuitable for coating adhesion.
Insufficient immersion time: Insufficient immersion time prevents the workpiece surface from fully contacting the coating, resulting in poor coating adhesion.
Solutions:
Clean the workpiece surface: Before immersion, ensure that the workpiece surface is clean. Solvents or ultrasonic cleaning methods can be used to remove oil, dust, and other impurities.
Check the coating quality: Regularly check the quality of the coating, avoiding the use of aged or deteriorated coatings. Ensure that the coating does not contain impurities and has good adhesion properties.
Perform surface treatment: Perform appropriate pre-treatment on the workpiece surface, such as sandblasting, rust removal, or applying a primer, to improve the adhesion between the coating and the workpiece surface.
Adjust the immersion time: Depending on the workpiece material and coating characteristics, appropriately extend the immersion time to ensure that the coating can fully adhere to the workpiece surface.
3. Common Fault: Paint Sagging or Dripping
Problem Description:
Paint sagging or dripping refers to the formation of an excessively thick coating on the workpiece surface after dipping. Due to gravity, the paint sags or drips, affecting the product's appearance and quality.
Possible Causes:
Excessive dipping time: Too long a dipping time leads to excessive paint deposition, resulting in an overly thick coating and causing sagging or dripping.
Low paint viscosity: Low paint viscosity prevents the paint from distributing evenly on the workpiece surface, easily leading to sagging.
High dipping tank liquid level: If the paint level in the dipping tank is too high, the workpiece will absorb too much paint after dipping, resulting in an excessively thick coating.
Improper drying process: If the workpiece does not enter the drying stage promptly after dipping, the paint continues to flow on the workpiece surface, causing dripping.
Solutions:
Control dipping time: Set a reasonable dipping time based on the size of the workpiece and the characteristics of the paint to avoid excessive paint thickness.
Adjust paint viscosity: Ensure the paint viscosity is appropriate; excessively low viscosity will cause the paint to flow on the workpiece surface, increasing the risk of sagging.
Adjust liquid level height: Check the liquid level in the dipping tank to prevent it from being too high, which would cause the workpiece to absorb too much paint.
Optimize the drying process: Ensure the workpiece enters the drying channel promptly after dipping to prevent sagging before the paint dries. The drying speed of the coating can be controlled by adjusting the drying temperature and time.
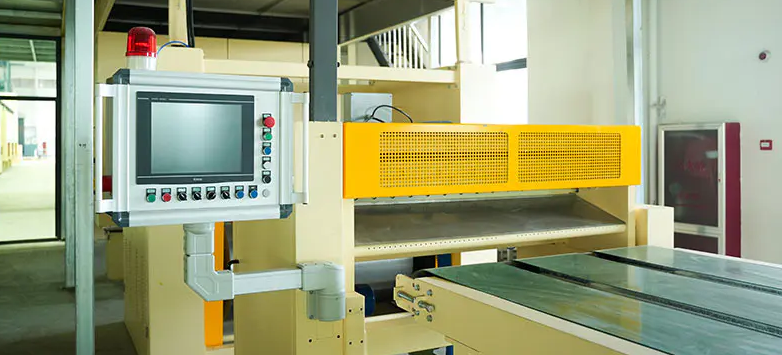
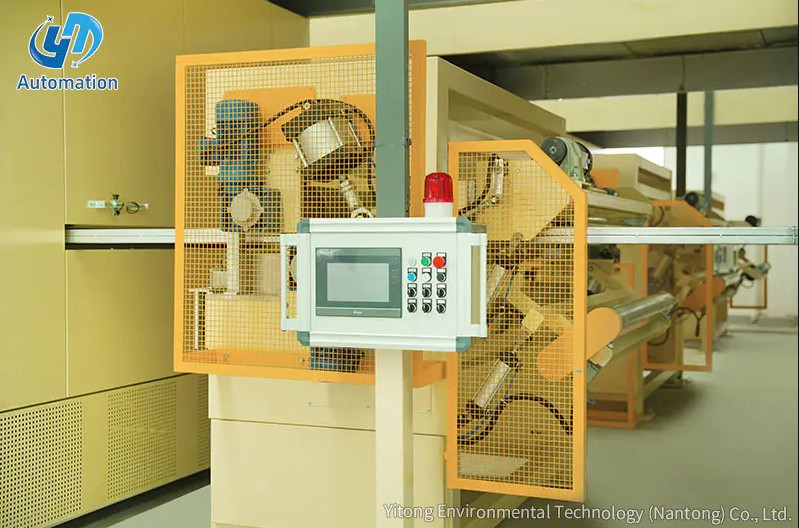
4. Common Fault: Equipment Malfunction or Downtime
Problem Description:
Equipment malfunction or downtime can lead to production line stagnation, resulting in decreased production efficiency and even order delays.
Possible Causes:
Electrical faults: Problems in the electrical system, such as unstable power supply or control system malfunctions, can cause the production line to shut down.
Mechanical faults: Wear or malfunction of mechanical components such as the dipping tank, conveyor belt, and pump can lead to production line stagnation.
Liquid level control failure: Malfunctions in the liquid level sensor or control system can lead to unstable paint levels, affecting the normal operation of the production line.
Solutions:
Regularly inspect the electrical system: Regularly inspect the electrical system to ensure the normal operation of electrical components. Replace aging cables, switches, sensors, etc., promptly.
Perform regular maintenance on mechanical components: Regularly inspect key mechanical components such as immersion tanks, conveyor belts, and pumps to ensure their smooth operation. Replace severely worn parts promptly.
Monitor the liquid level control system: Ensure the proper functioning of the liquid level sensors and control system to prevent production interruptions caused by fluctuations in the coating liquid level.
Contact Us
Recommended Products
Let’s Get In
Touch
Yitong Environmental Technology (Nantong) Co., Ltd is a manufacturer specializing in impregnation equipment.


Contact Us
Phone: 13073202297 / 13023568111
Email: [email protected] / [email protected]
Add:No.369, Nanhai Road, Tongzhou Bay, Jiangsu, China
 English
 中文简体
中文简体
 русский
 عربى
عربى